Proper pruning creates a symmetrical, balanced look that elevates the landscape. It also improves flowering and fruit production, prevents safety hazards, and promotes plant health.
When trimming a tree, make sure that you cut to a bud, lateral branch, or branch collar to ensure healthy healing and avoid leaving stubs. The following tips will help you achieve a polished look:
Trim the Trunk
As you prune the branches, you should also trim the trunk to remove stubs and to encourage proper healing. Understanding your objective before reaching for the pruning shears is essential, whether improving a tree’s structure, removing damaged or diseased limbs, or enhancing its appearance.
As with young trees, eliminate suckers (weak, weedy-looking growth) from the base of the trunk. These steal energy from desirable branches. Also, remove low temporary branches that will never grow taller than one inch in diameter.
When removing large or heavy limbs, it is best to use the three-cut technique. This will help prevent tearing or ripping the bark during the pruning process. To begin, make a pre-cut about an inch further up the trunk than where you’d like to make your cut. Then, locate the branch collar, a small lip of bark at the base of each branch protrusion. Make your final cut just outside this area.
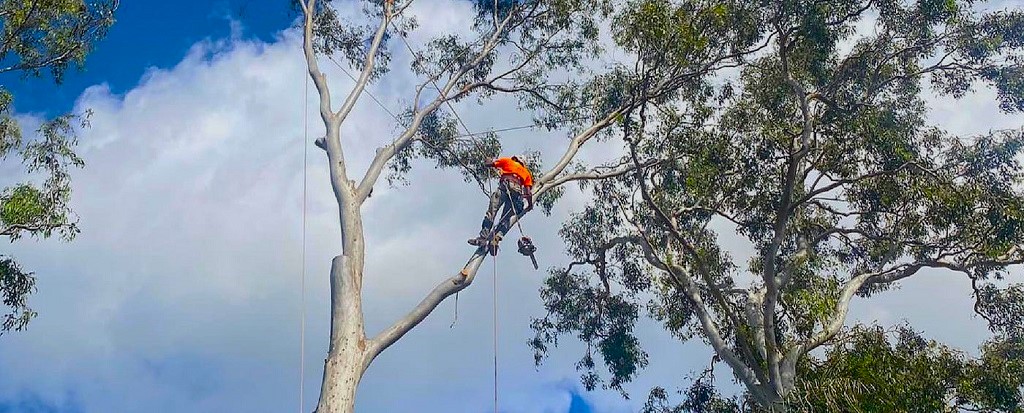
Remove Overcrowded Branches
When a tree is crowded with branches, it can’t produce enough food to survive and become strong. An Orlando tree trimming service expert should be called to prune the plant to grow properly if this occurs.
A good pruning cut will promote controlled, healthy growth and improve the overall look of a plant. To remove water sprouts (suckers) and other unwanted branches, stand back from the plant to get a general view. Next, check the crotch angle and head lateral branches that overshadow, cross, or entangle each other.
When pruning large limbs, it’s best to make the first undercut by sawing upward about a foot from where the limb intersects with the trunk. Then, saw downward through the limb somewhat farther out from the first undercut to remove the stub. Thinning cuts (severing a portion of a branch or shooting without removing the entire branch) should be made near the base of the stem collar, where the small lip of bark from each branch protrudes.
Remove Dead or Diseased Branches
Aim to prune out dead or diseased branches before they can infect the rest of the tree. This will encourage healthy growth and remove any potential safety hazards. Before you cut a branch, locate the branch collar (a ring or ridge of bark on the trunk’s base) on the branch’s underside. The first cut must be okay with this area as it helps the tree close the wound and prevent infection. It’s also essential that the second and final cuts are designed not to damage the bark.
You can cut branches back to the significant limbs when thinning a tree to create an open crown. However, avoid removing too many branches because this can compromise the tree’s protection system against wood-decay fungi and other insect infestations. Also, avoid removing branches rubbing against or crossing over each other. This overlapping type is not conducive to good branch structure and will result in poor vigor.
Rearrange Branches
During the pruning process, it’s important to remember that every cut should be made at the “sweet spot,” defined by an imaginary line connecting a tree’s ridge of bark and its slightly swollen branch collar. Cutting in this area will result in a clean, healthy wound that will close quickly and heal without forming a fungus.
Choose three or four shoots to form main scaffold branches the first winter and remove or severely head other shoots (gray). Proper scaffold limb spacing promotes air circulation, increases fruit size, and reduces the chances of fungus.